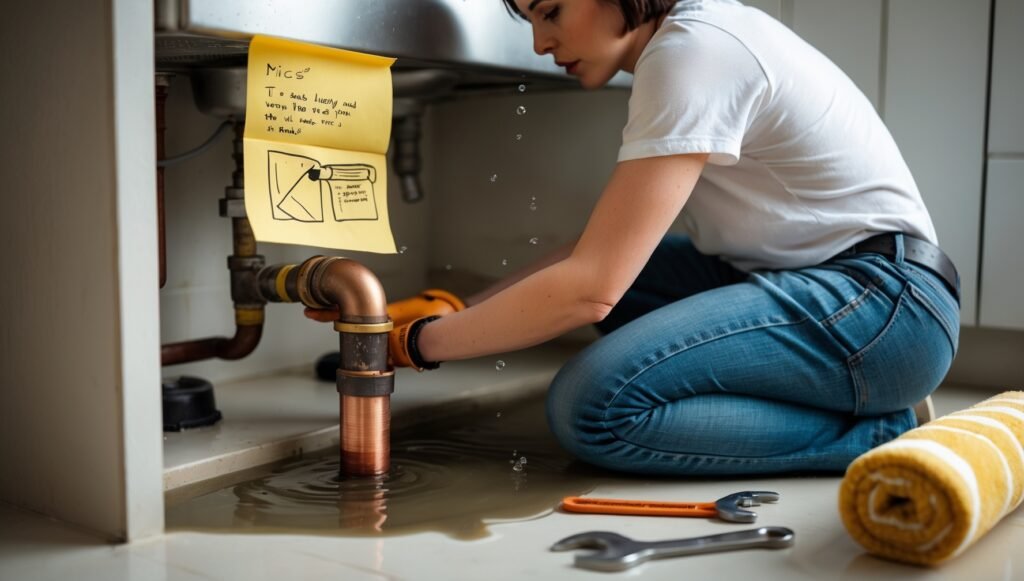
A leaky pipe under the sink is not only an annoying problem but can also lead to significant water damage, mold growth, and higher utility bills. Fortunately, fixing a leaky pipe is something most homeowners can tackle on their own, saving money on costly plumbing repairs. In this step-by-step guide, we’ll show you how to repair a leaky pipe under the sink, from identifying the source of the leak to applying the right fix.
Why Do Pipes Leak Under the Sink?
Before you start the repair process, it’s important to understand why pipes leak under the sink. The most common reasons for a leaky pipe include:
Loose Connections – The pipe fittings may become loose over time, causing water to leak.
Worn-out Seals – Rubber seals that connect pipes can wear out and crack, allowing water to escape.
Cracked Pipes – Pipes that are cracked need to be replaced entirely.
Corroded Pipes – Over time, pipes can corrode, especially in older homes, which leads to weak spots and leaks.
What You’ll Need
To successfully repair a leaky pipe under the sink, you’ll need a few basic tools and materials. Having the right equipment in hand will make the job easier and more efficient.
Adjustable Wrench – To tighten or loosen pipe fittings.
Plumber’s Tape (Teflon Tape) – To seal threads and prevent leaks.
Pipe Cutter – For cutting out damaged sections of pipe.
Rubber Washers – To replace worn-out seals in pipe fittings.
Pipe Sealant or Epoxy Putty – For sealing minor cracks in pipes.
Bucket – To catch any excess water when you remove pipes.
Clean Towels or sponge – For drying up any water in the area and preventing slips.
Recommended Products for Your DIY Repair:
Adjustable Wrench: Check it out on Amazon
Plumber’s Tape: Buy here on Amazon
Step-by-Step Guide to Repair a Leaky Pipe Under the Sink
Step 1: Turn Off the Water Supply
The first thing you need to do is turn off the water supply to the sink. You’ll find the shut-off valve under the sink near the wall. Turn the valve clockwise to stop the flow of water. Double-check by turning on the faucet to confirm no water is coming out.
Tip: Always wear rubber gloves when handling plumbing components to keep things sanitary.
Step 2: Clear the Area
To give yourself room to work, remove any items stored under the sink. Place a bucket or towels on the floor to catch any water that might spill out when you disconnect the pipes.
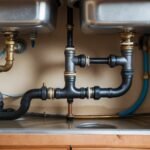
Step 3: Locate the Leak
Inspect the pipes under the sink to identify the source of the leak. The leak might come from:
The joint connections: If the pipe fitting is loose, water will leak out from the connection.
The pipe itself: A crack or hole in the pipe requires a more serious fix.
If you can’t pinpoint the leak immediately, dry off the pipes with a towel and observe where the water forms again. This will help you identify the exact problem.
Step 4: Tighten Loose Connections
If a loose connection causes the leak, tighten the fitting using an adjustable wrench. Turn the wrench clockwise to secure the fitting. Be cautious not to over-tighten, as this could damage the pipe.
Tip: Wrap the threads of the pipe with plumber’s tape before tightening the fitting to ensure a tight, leak-proof seal. This is especially useful if you’re working with threaded pipes.
Step 5: Replace Worn Seals
If a worn-out rubber seal or gasket caused the leak, you’ll need to replace it. Most sink plumbing uses rubber washers to form a tight seal between the pipes and fittings.
How to Replace the Seal:
Use a wrench to unscrew the fitting that holds the seal in place.
Remove the old rubber washer and replace it with a new one. Ensure the new seal fits snugly and is correctly positioned.
Reattach the fitting, making sure it’s secure but not over-tightened.
You can purchase new rubber washers from your local hardware store or online.
Step 6: Seal Minor Cracks in the Pipe
If the leak is coming from a crack in the pipe, you may seal it temporarily using pipe sealant or epoxy putty. These products work well for small cracks and can hold until you’re able to replace the pipe.
How to Use Epoxy Putty:
Clean the area around the crack thoroughly to remove dirt and debris.
Knead the epoxy putty and apply it directly to the crack.
Let it cure as per the product’s instructions (typically 1-2 hours).
Once cured, check for leaks and test the repair by turning the water supply back on.
If the crack is too large, or if you can’t effectively seal the pipe, you’ll need to replace the damaged section entirely.
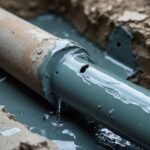
Step 7: Replace Damaged Sections of Pipe
You’ll need to replace a pipe if it is damaged beyond repair. Use a pipe cutter to remove the damaged section. Measure and cut a new section of pipe that fits in place of the old one. Install the new section and make sure the connections are tight and secure.
Tip: When installing new pipes, make sure the pipe sections are aligned correctly, and apply plumber’s tape to the threads to prevent leaks.
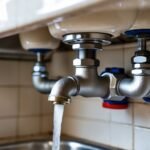
Step 8: Turn the Water Back On
After you’ve made the repairs, turn the water supply back on and allow the pipes to fill. Check for any leaks and test the system by running the faucet for a few minutes. Make sure everything works properly and there are no signs of leaks.
If the water runs clear and there are no new leaks, your repair is complete.
Prevent Future Leaks
Now that we’ve fixed your pipes, here are a few tips to help prevent future leaks.
Regularly inspect your pipes: Check the pipes under your sink every few months to ensure everything is in good condition.
Avoid putting grease or food scraps down the drain: These can cause clogs that may lead to leaks and other plumbing issues.
Replace old pipes: If you have older pipes in your home, consider replacing them with more durable materials like PVC or copper to avoid future problems.
Need more help with home repairs? Check out our DIY books:
Fix It Before It Breaks: A DIY Prevention and Repair Handbook Find it here
DIY Plumbing Fixes Guide, Get your copy here
Finally
Repairing a leaky pipe under the sink is a manageable DIY project that can save you from expensive plumbing services. By following these simple steps, you can fix the leak quickly and prevent water damage to your home. Always remember to turn off the water supply, use the right tools, and double-check your work before turning the water back on.
If you’re interested in learning more about home repairs, be sure to explore our comprehensive DIY guides and storybooks available for purchase on our site!
Happy fixing!