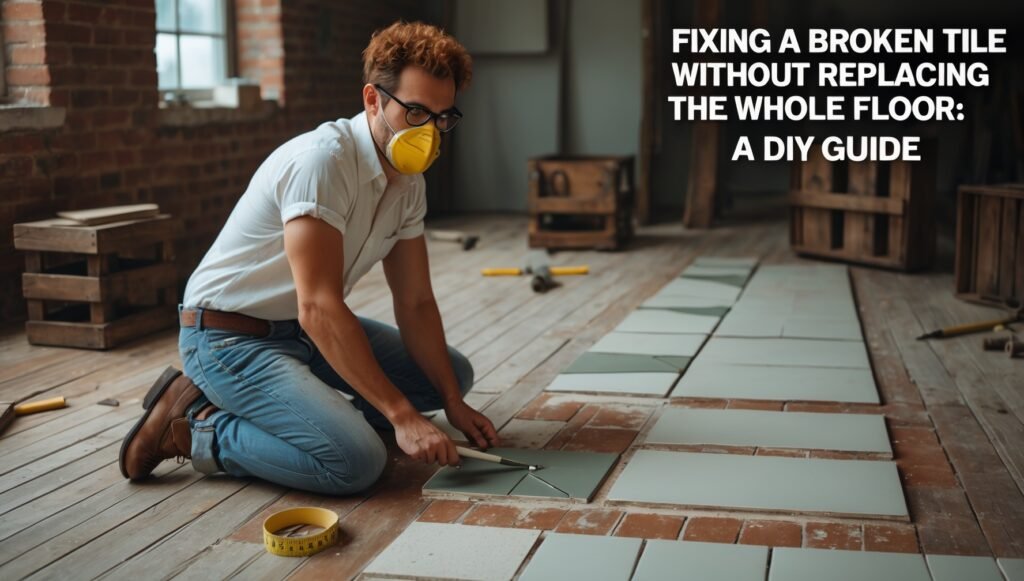
Accidentally stepping on a tile and hearing it crack or noticing a chip on your floor can be frustrating. Replacing a single broken tile may seem daunting, but it doesn’t always require replacing the entire floor. With the right tools and techniques, you can fix a broken tile without the hassle and expense of a full replacement.
In this blog post, we’ll walk you through how to repair a broken tile, from gathering the right materials to completing the repair in just a few simple steps.
Why You Should Repair a Broken Tile
When a tile cracks or chips, it doesn’t mean that you need to replace the entire floor. A single damaged tile can be easily removed and replaced with a new one, and the process is much easier than replacing an entire floor. Here are a few reasons repairing a broken tile is the way to go:
Cost-effective: Replacing a single tile is far cheaper than replacing an entire floor.
Quick fix: You can quickly complete tile repairs, restoring your floor without significant downtime.
Preserving the look: A broken tile can be an eyesore, but fixing it properly can restore the look of your floor without disrupting the overall design.
Tools and Materials You’ll Need
Before starting your tile repair, make sure you have the following tools and materials on hand:
Replacement Tile: You can either purchase a matching tile from your local hardware store or use one from your original supply (if you have spare tiles).
Grout: You’ll need grout to fill the gaps around the new tile.
Tile Adhesive: This helps secure the new tile to the floor.
Tile Cutter or Wet Saw: For cutting the replacement tile to the right size.
Putty Knife: For scraping off old grout and adhesive.
Rubber Mallet: To gently tap the new tile into place.
Sponge and water: For cleaning up excess grout and debris.
Tile Nippers: These are optional, but useful if you need to cut small pieces of tile.
Recommended Products:
Tile Cutter: Check it out on Amazon
Grout and Tile Adhesive Set: Buy it here on Amazon
Step-by-Step Guide to Fixing a Broken Tile
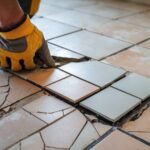
Step 1: Remove the Damaged Tile
The first thing you need to do is remove the broken tile. This step is a little tricky, but it can be done with the right tools.
*Use a Putty Knife: Carefully insert a putty knife into the grout lines surrounding the tile. Gently pry up the edges to loosen the tile. Be careful not to damage the surrounding tiles.
*Break the Tile: If the tile is badly cracked, you may need to break it into smaller pieces to make it easier to remove. Use a hammer to tap the tile gently until it breaks apart.
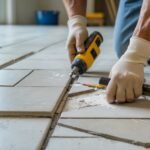
*Scrape Away the Old Adhesive: After you’ve removed the tile pieces, use the putty knife to scrape off the old adhesive and grout from the floor. It’s important to get a smooth, clean surface so that the new tile will adhere properly.

Step 2: Prepare the Replacement Tile
Next, you’ll need to prepare your replacement tile. This step is essential to ensure that the new tile fits perfectly into the space.
*Measure the Space: Use a tape measure to check the dimensions of the space where the broken tile was. Make sure your replacement tile fits properly.
*Cut the Tile (If Needed): If the replacement tile is too large, you’ll need to cut it to fit. Use a tile cutter or wet saw to cut the tile to the appropriate size.
*Check for Fit: Dry-fit the tile in place to ensure it fits well before you begin attaching it.
Step 3: Apply Tile Adhesive
Now that your tile is ready, it’s time to apply the adhesive.
*Spread the Adhesive: Use a trowel to spread an even layer of tile adhesive on the floor. Make sure the layer is thick enough to hold the tile in place but not so thick that it oozes out when you place the tile down.
*Place the Tile: Carefully place the new tile into the space. Gently press down on the tile and use a rubber mallet to tap it into place. This will ensure that it adheres securely to the floor.
Step 4: Apply Grout
Once the tile is in place, it’s time to grout the edges.
*Apply the Grout: Use a rubber float to apply the grout to the gaps between the new tile and the surrounding tiles. Make sure the grout fills the spaces completely.
*Smooth the Grout: After applying the grout, use a damp sponge to smooth the surface and remove any excess grout. Be careful not to remove grout from the seams.
*Allow the Grout to Dry: Let the grout dry for the time specified on the package. Typically, this can take anywhere from 24 to 48 hours.
Step 5: Clean the Tile Surface
Once the grout has dried, you’ll need to clean up the tile surface.
*Clean the Tile: Use a damp sponge to wipe away any grout residue from the tile. Once the tile is clean, buff it dry with a soft cloth.
*Seal the Grout: If necessary, apply a grout sealer to protect the grout from moisture and staining. This step is optional but can prolong the life of your tile repair.
Prevent Future Tile Damage
Now that your tile is repaired, here are a few tips to help you avoid future damage:
*Use furniture Pad: If heavy furniture is placed on your tiled floor, use furniture pads to avoid scratching and damaging the surface.
*Clean Regularly: Clean your tiles regularly with a gentle cleaner to keep them looking new and prevent buildup of dirt or grime.
*Avoid Dropping Heavy Objects: Tiles are durable, but dropping heavy objects can still crack them. Be cautious when moving furniture or dropping items near your tiles.
Finally
Fixing a broken tile is a simple DIY project that can save you the hassle and cost of replacing your entire floor. By following these easy steps, you can restore your floor to its original condition in just a few hours. Plus, with the right tools and materials, you’ll be able to complete the repair on your own.
For more tips on DIY home repairs, be sure to check out our premium books:
Fix It Before It Breaks: A DIY Prevention and Repair Handbook Find it here
DIY Story Book for Beginners Get your copy here
By learning how to fix a broken tile, you’re not just repairing your floor—you’re also gaining valuable skills that will come in handy for many other home improvement projects.