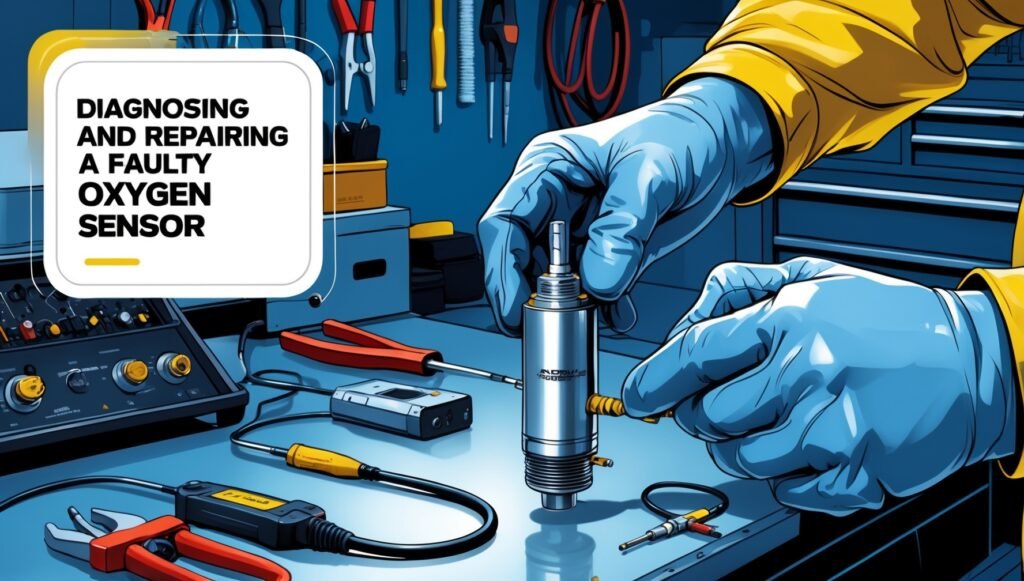
Oxygen sensors are vital components in your vehicle’s emission system. They monitor the level of oxygen in the exhaust gases and send this data to your car’s computer system. A faulty oxygen sensor can lead to poor engine performance, reduced fuel efficiency, and increased emissions. Fortunately, diagnosing and repairing a faulty oxygen sensor is a manageable task for DIYers.

In this blog, we’ll walk you through the process of diagnosing a faulty oxygen sensor, understanding the symptoms, and replacing the sensor with ease. Let’s get started!
Step 1: Understanding the Role of an Oxygen Sensor
The oxygen sensor monitors the exhaust gases coming out of the engine and sends information to the engine control unit (ECU). The ECU then adjusts the fuel mixture to optimize engine performance and reduce emissions. If the sensor is faulty, it can lead to the engine running too rich (too much fuel) or too lean (too little fuel), causing performance issues and higher fuel consumption.
There are two types of oxygen sensors in a vehicle:
Upstream (Pre-Catalytic Converter) Sensors: These sensors are located before the catalytic converter and monitor the oxygen content in the exhaust gases as they leave the engine.
Downstream (Post-Catalytic Converter) Sensors: These sensors are located after the catalytic converter and monitor how well the converter is performing.
When either of these sensors fails, it can trigger the check engine light and cause the engine to run poorly.
Step 2: Recognizing the Symptoms of a Faulty Oxygen Sensor
A faulty oxygen sensor can cause several issues with your vehicle’s performance. Here are some common symptoms:
Check Engine Light: The most common symptom of a faulty oxygen sensor is the illumination of the check engine light.
Poor Fuel Economy: If the oxygen sensor isn’t properly monitoring the exhaust gases, the engine may burn more fuel than necessary.
Rough Engine Performance: A bad sensor can cause the engine to misfire or run unevenly, especially during acceleration or deceleration.
Increased Emissions: If the oxygen sensor is faulty, the vehicle may produce more harmful emissions, which can be an issue during emissions testing.
If you notice any of these symptoms, it’s essential to diagnose the problem as soon as possible.

You can get an OBD-II scanner on Amazon to help diagnose the exact trouble code for a faulty oxygen sensor.
Step 3: Using an OBD-II Scanner to Diagnose the Problem
The most effective way to diagnose a faulty oxygen sensor is by using an OBD-II scanner. This tool connects to your car’s computer system and reads the error codes that trigger the check engine light. To use the scanner:
Plug the OBD-II scanner into the diagnostic port: This is typically located under the dashboard near the driver’s side.
Turn on the ignition: Don’t start the engine; just turn the key to the “on” position.
Read the codes: Follow the scanner’s instructions to scan for error codes. If the code shows an oxygen sensor issue, it will be something like P0130 or P0135, which refers to problems with the upstream or downstream oxygen sensors.
Interpret the results: Check the scanner’s code definitions to confirm the issue is with the oxygen sensor.
By using an OBD-II scanner, you can quickly and accurately pinpoint the problem.
Step 4: Replacing the Faulty Oxygen Sensor
Once you’ve confirmed that the oxygen sensor is the issue, replacing it is a straightforward process. Follow these steps to replace the faulty sensor:
Locate the Oxygen Sensor: The sensor is usually on the exhaust manifold or the exhaust pipe. There may be multiple sensors, so refer to your vehicle’s manual to find the correct one.
Disconnect the Battery: Always disconnect the battery before working with electrical components to avoid shocks.
Remove the Old Oxygen Sensor: Using an oxygen sensor socket wrench, carefully unscrew the faulty sensor. Be cautious, as the sensor may be tightly attached or rusted in place.
Install the New Oxygen Sensor: Once the old sensor is removed, screw in the new sensor by hand to avoid cross-threading. Then, tighten it using the wrench.
Reconnect the Wiring: Plug in the electrical connector to the new sensor.
Reconnect the Battery: Once the sensor is installed, reconnect the car battery and ensure everything is secure.
For a high-quality oxygen sensor socket wrench, check out this tool on Amazon to make your replacement process easier.

Step 5: Resetting the Check Engine Light
After replacing the oxygen sensor, you’ll need to reset the check engine light. This can be done using the same OBD-II scanner you used to diagnose the issue:
Plug the OBD-II scanner back into the diagnostic port.
Select the “Clear Codes” option on the scanner. This will reset the check engine light and clear any stored trouble codes.
Start the Engine: Once the codes are cleared, start the engine and make sure the light stays off.
If the check engine light comes back on, it could indicate a problem with the sensor installation or that another issue is causing the light to trigger.

If you’re interested in a DIY Car Repair Ebook, check out our comprehensive guide to car maintenance and repair.
Step 6: Final Testing
Once the new oxygen sensor is installed and the check engine light is cleared, take your vehicle for a short test drive. Pay attention to how the engine performs and make sure there are no unusual sounds or rough idling. If everything runs smoothly and the check engine light stays off, you’ve successfully replaced the oxygen sensor.
Replacing a faulty oxygen sensor is a manageable task that can save you money and improve your vehicle’s performance. By following these simple steps, you can avoid the high costs of professional repairs and ensure your car runs efficiently.
FixItSmartly.com helps everyday people save money and build confidence by tackling home and car repairs with easy, practical DIY solutions. Live smart, safe, and self-reliant — one fix at a time.
Copyright © 2025 Fixitsmartly