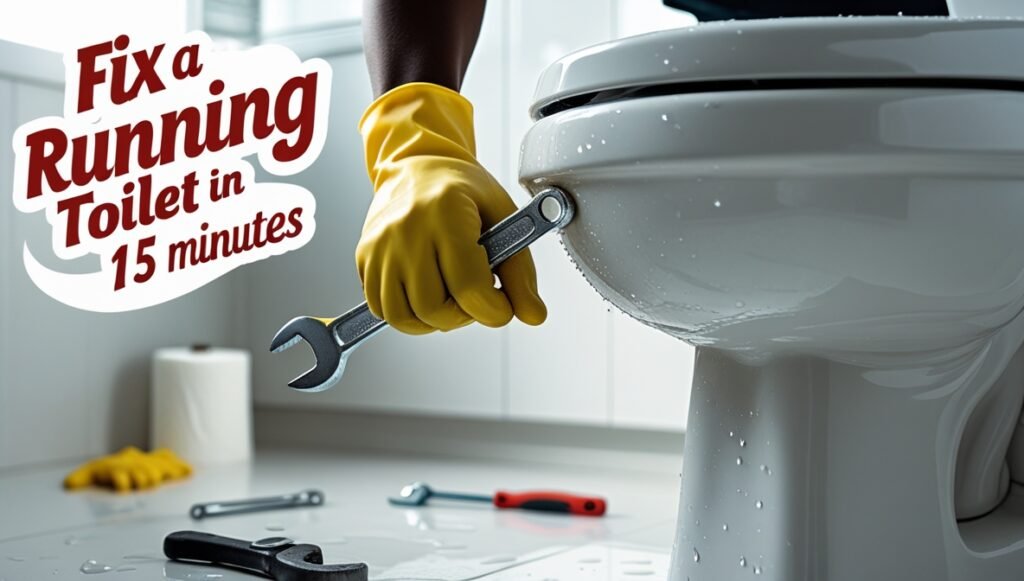
A running toilet is not only an annoying problem but can also waste a lot of water, resulting in higher water bills. Luckily, fixing it is a quick and easy job that most homeowners can do themselves in under 15 minutes. This guide will walk you through the steps, tools you’ll need, and tips for making the repair.
Why Does a Toilet Run?
Before we dive into fixing the problem, let’s quickly look at why a toilet might run:
Faulty Flapper Valve–This is the most common cause of a running toilet. The flapper valve is a rubber seal that controls the water flow from the tank into the bowl. If it’s damaged or not dealing properly, water continues to flow.
Misadjusted Float–The float in your tank controls the water level. If it’s set too high, water will spill into the overflow tube, causing the toilet to run.
Worn-out Fill Valve–The fill valve controls how much water enters the tank after it flushes. If it’s malfunctioning, it may cause the water to continuously flow into the tank

What You’ll Need
To fix a running toilet, you’ll need a few simple tools and supplies. Here’s what we recommend:
Adjustable Wrench–To loosen nuts and bolts.
Replacement Flapper Valve–If your flapper valve is worn or cracked.
Float or Fill Valve Replacement Kit–If the float is misadjusted or the fill valve is faulty.
Clean Cloth or sponge–To clean up any water and prevent leaks.
Rubber Gloves–For hygiene while working on the toilet.
Screwdriver–To remove bolts or screws if necessary.
Recommended Amazon Products:
Adjustable Wrench: Link to Amazon Adjustable Wrench
Flapper Valve Replacement Kit: Link to Amazon Flapper Valve Kit
Float or Fill Valve Kit: Link to Amazon Fill Valve Kit
Step-by-Step Guide to Fix a Running Toilet
Step 1: Turn Off the Water Supply
Before you start any work, you need to turn off the water supply to the toilet. This is typically done by turning the shut-off valve behind the toilet near the floor. Turn the valve clockwise to stop the flow of water.
Step 2: Remove the Toilet Tank Lid
Carefully remove the lid from the toilet tank and set it aside. You’ll need to see all the internal components to identify the issue.

Step 3: Inspect the Flapper Valve
Check the flapper valve, the rubber seal at the bottom of the tank. If it’s worn out, cracked, or not closing properly, this could cause the running water.
If the flapper valve is damaged, replace it with a new one. Disconnect the old one and attach the new one by hooking it onto the chain or lever.
How to Replace the Flapper Valve: Remove the old valve by detaching the chain or string connected to the flush lever. Then, detach the flapper from the overflow tube and replace it with a new one. Reattach the chain to the flush lever.
Tip: Ensure the flapper aligns properly with the valve seat and creates a tight seal when it closes.
Step 4: Adjust the Float
Next, check the float that regulates the water level in the tank. If the float is set too high, the water will flow into the overflow tube, causing the toilet to run continuously.
How to adjust the Float: The float is usually connected to the fill valve by a rod or a plastic arm. If the float is set too high, gently bend the arm downward to lower the float. Alternatively, some models allow you to adjust the float by turning a screw.
Tip: Aim for the water level to be about 1 inch below the top of the overflow tube for proper functioning.
Step 5: Check and Replace the Fill Valve (If Needed)
If adjusting the float didn’t solve the problem, it might be the fill valve itself. A worn-out fill valve can cannot shut off properly, causing the water to keep running.
How to Replace the Fill Valve: Disconnect the water supply line, unscrew the fill valve from the bottom of the tank, and remove it. Install a new fill valve by following the manufacturer’s instructions, and then reconnect the water supply line.
Tip: Once the new fill valve is in place, adjust the float again to ensure the correct water level.
Step 6: Turn the Water Back On
Once you’ve made the repairs, turn the water supply valve back on. Wait a few moments for the tank to fill and test the flush to see if the toilet stops running. Check for any leaks or water continuing to flow into the tank.
Step 7: Fine-Tune and Test Again
Test the toilet several times to ensure that it’s properly functioning. If it’s still running, recheck the flapper valve, float, and fill valve to make sure all parts are in the correct position.
Prevent Future Problems
After fixing your running toilet, it’s a good idea to regularly inspect the components to prevent future issues. Here are a few tips:
Replace old components: Over time, parts like the flapper and fill valve can wear out. Replace them every few years to maintain efficient toilet function.
Regularly check water levels: Monitor the water level in your tank and adjust the float correctly.
In Concluding
Fixing a running toilet is a quick and easy DIY project that can save you money on your water bill and prevent further damage to your plumbing system. With just a few tools and 15 minutes, you can restore your toilet to full working order.
If you’re interested in purchasing the products mentioned above, be sure to check out the following links for great deals on Amazon:
By following this step-by-step guide, you should be able to repair your running toilet in no time. Happy DIY-ing!