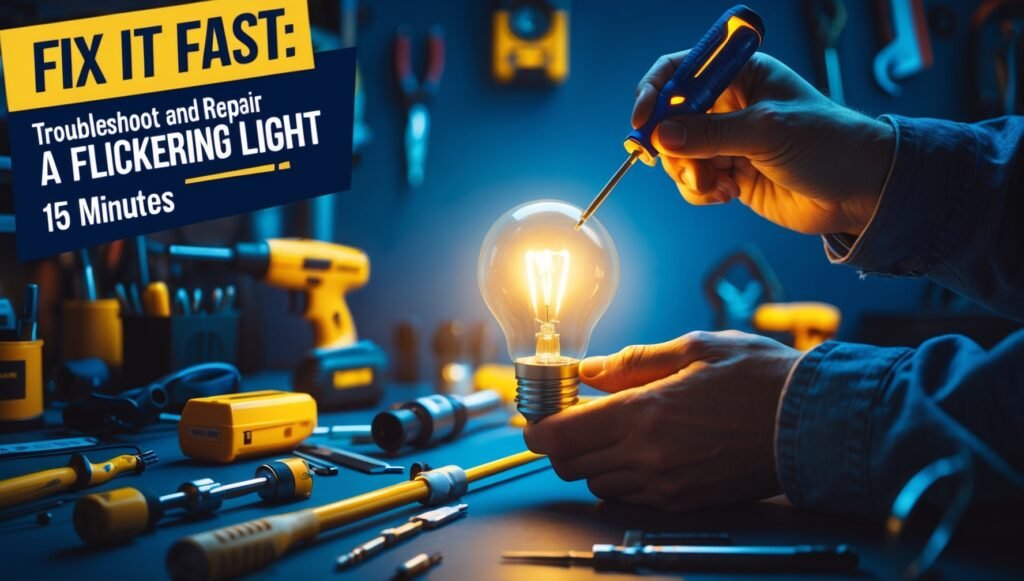
A flickering light fixture can be both annoying and concerning. While it might seem like a minor issue, persistent flickering can show underlying electrical problems that need to be addressed promptly. Whether it’s a single bulb flickering or an entire light fixture, it’s important to understand the causes and how to troubleshoot and repair the problem. In this “Fix It Fast” guide, we’ll show you how to identify the root cause of a flickering light fixture and repair it in under 15 minutes. With the right tools and knowledge, you can fix the issue safely and efficiently.

Why Do Light Fixtures Flicker?
Before diving into the fix, it’s essential to understand why your light fixture is flickering. Several factors can contribute to this problem:
Loose Bulb: A bulb that isn’t securely screwed in can cause a flickering light. This is the most straightforward and easy-to-fix issue.
Faulty Light Bulb: Sometimes, the bulb itself may be defective, causing it to flicker even when properly installed.
Poor Connection in the Fixture: A loose or damaged connection inside the light fixture can cause intermittent flickering.
Faulty Wiring or Circuit Issues: In more severe cases, flickering lights can be a sign of faulty wiring, an overloaded circuit, or an issue with the electrical panel.
Dimmer Switch Problems: If your light is connected to a dimmer switch, an incompatible bulb or a malfunctioning switch can cause flickering.
Tools and Materials You’ll Need
To troubleshoot and fix a flickering light fixture, you’ll need a few basic tools and safety gear. Here’s what you’ll need:
Ladder: To safely access the light fixture.
Screwdriver: To remove the light fixture cover and tighten or replace connections.
Replacement Bulb: If the bulb is the issue, having a spare one on hand is essential.
Voltage Tester: To check if there’s power running to the fixture and detect any electrical issues.
Electrical Tape: For securing any loose or exposed wires.
Rubber Gloves: For safety when handling electrical components.
Step-by-Step Guide to Fix a Flickering Light Fixture in Under 15 Minutes
Step 1: Turn Off the Power
Safety should always be your top priority when working with electrical components. Before starting any troubleshooting, ensure the power to the light fixture is turned off. You can do this by flipping the light switch to the off position. To be extra cautious, turn off the circuit breaker that controls the fixture. This will help prevent any electrical shock while you’re working.
Tip: Always double-check that the power is off by testing the light switch or using a voltage tester to confirm there’s no power running to the fixture.

Step 2: Check the Bulb
The most common and easiest fix for a flickering light is simply replacing or securing the bulb.
Tighten the Bulb: If the bulb is loose, it can cause flickering. Use your hand or a soft cloth to gently screw the bulb back into the socket, ensuring it’s securely in place.
Replace the Bulb: If tightening the bulb doesn’t resolve the issue, the bulb itself may be defective. Replace it with a new one of the correct wattage and type. If the flickering stops, you’ve solved the problem.
Tip: Always use the correct wattage for the fixture. If the bulb is too high, it can cause overheating and damage to the wiring.
Step 3: Inspect the Fixture for Loose Connections
If the bulb is secure and replacing it doesn’t stop the flickering, the issue may lie inside the fixture itself.
Remove the Fixture Cover: If necessary, use a screwdriver to remove the cover or glass shade from the fixture to access the wiring.
Check for Loose Wires: Once the fixture cover is removed, inspect the wiring for any loose connections. A loose wire can cause intermittent flickering. Use a screwdriver to tighten any loose connections, ensuring the wires are secured to their terminals.
Look for burnt or Damaged Wires: If you notice any burnt or damaged wires, this is a sign of an electrical problem. You’ll need to cut off the power at the circuit breaker and repair or replace the damaged wiring. If you’re unsure how to do this safely, it’s best to call a licensed electrician.
Step 4: Check the Dimmer Switch (If Applicable)
If your light fixture is connected to a dimmer switch, this could also be the source of the flickering. Dimmer switches are sensitive to certain types of light bulbs, and using an incompatible bulb can lead to flickering.
Test the Dimmer Switch: Try turning the dimmer switch to see if the flickering stops. If you turn the dimmer down and the light flickers, the switch may be malfunctioning.
Replace the Bulb with a Compatible One: If the dimmer switch works correctly, but the flickering persists, try using a bulb that is compatible with dimmer switches, such as LED or CFL bulbs designed for use with dimmers.
Tip: replace the dimmer switch if it’s faulty.
Step 5: Troubleshoot Wiring or Circuit Issues
If none of the above steps resolve the issue, the problem may be more complex, and it could involve faulty wiring or an overloaded circuit. Here, it’s important to call a licensed electrician to inspect your wiring and electrical panel.
Warning: If you notice any sparking or burning smells while working with the light fixture, it’s crucial to turn off the power and contact a professional immediately. This could be a sign of a serious electrical issue that requires professional attention.
Prevent Future Flickering Light Fixtures
Once you’ve fixed the flickering, here are a few tips to help prevent future issues:
Use Compatible Bulbs: Ensure that the bulbs you use are compatible with the light fixture and dimmer switches to avoid flickering.
Perform Regular Maintenance: Periodically check the light fixtures and wiring in your home for wear and tear, especially in areas with high humidity or moisture.
Replace Old Wiring: If your home has older wiring, consider upgrading it to meet modern safety standards and prevent flickering caused by electrical issues.

Finally
Fixing a flickering light fixture can be a quick and easy task if you follow the right steps. By checking the bulb, tightening connections, inspecting the dimmer switch, and addressing any wiring issues, you can troubleshoot and repair a flickering light fixture in under 15 minutes. If the issue persists, it’s always best to contact a professional to ensure the safety and functionality of your electrical system.
For more DIY electrical tips and troubleshooting advice, check out our premium books:
Fix It Before It Breaks: A DIY Prevention and Repair Handbook Find it here
DIY Story Book for Beginners called The One Handed Carpenter. Get your copy here
By learning how to fix electrical issues like a flickering light fixture, you can maintain a safer, more efficient home and avoid unnecessary repair costs.
FixItSmartly.com helps everyday people save money and build confidence by tackling home and car repairs with easy, practical DIY solutions. Live smart, safe, and self-reliant — one fix at a time.
Copyright © 2025 Fixitsmartly